General Ledger, Accounts Receivable and Time & Billing are linked and fully integrated to the General Receipts and Checks. Receipt and Check writing is intelligent in that it defaults to the current date and the client and vendor information is automatically populated from the appropriate client or vendor list and includes full name and address.
When receiving funds that are not attributed to a specific matter in Accounts Receivable, you can post an office receipt.
To Enter an Office Receipt:
From the Brief Accounting Home screen, select the Office module icon > Receipt tab:

If prompted, select the General account that will be used for the Receipt.
NOTE: A prompt to select an account will only appear if more then once General Account exists in Brief Accounting. If there is only a single General Account, then a new blank Office receipt is displayed.
The new receipt defaults to the current date. This can be overwritten manually to pre or post date the receipt.
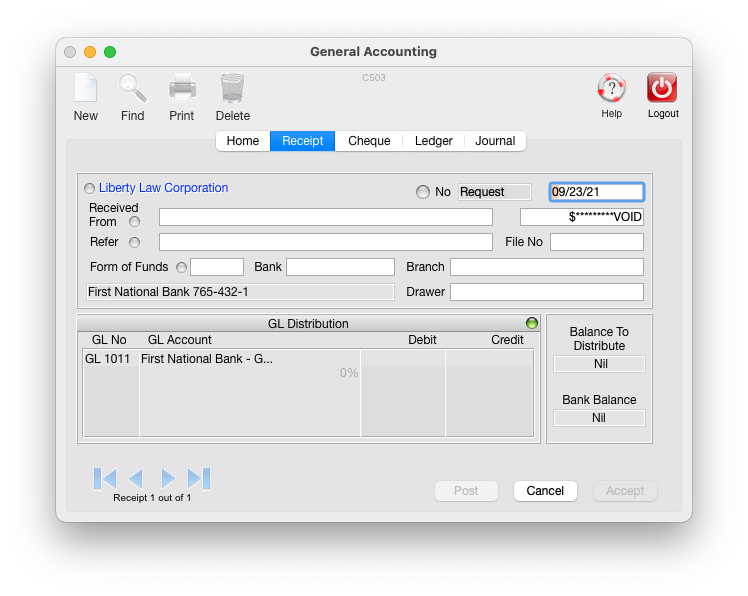
Navigate through the fields on the receipt using the Tab keyboard key or mouse.
A lookup is available in the "Received From" field. Enter the first letter(s) of any client name as it appears in Brief Accounting, press the Tab keyboard key. The name will automatically populate, or a list of applicable names will be displayed allowing one to be selected:

Next enter the Amount and the Reason.
Enter the GL Account for the Receipt.
NOTE: A lookup is available for the GL No Field to be credited for the receipt (the bank account GL is automatically debited for the receipt amount).
Generally a Receipt will be allocated to a Revenue GL Account (beginning with a 4 in Brief Accounting).
Enter a 4 into the GL No field and click the Tab key.
A list of the revenue GL Accounts will be displayed allowing one to be selected:

Once the GL Accounts are filled out so the Debits and Credits are equal amounts, the Receipt can be posted by clicking the Post button at the bottom.
TIP: If there is more than a single General Account set up ion Brief Accounting, the full account number does not have to be entered when prompted. Just the first (or first few) digits of the account number can be typed followed by clicking the tab key. Alternatively, the letter "g" can be typed in followed by clicking the tab key. This will display a list of all General account to choose from for the receipt:

0 Comments