Once an Office Check (or any transaction) has been posted, it may not be edited, other than to revise the check or receipt number. If edits are required, the transaction must be reversed and re-posted. Reversing of an Office Check creates a counter transaction (opposite to the original check) to ensure that an audit trail is maintained.
To Reverse an Office Check:
Select the Office module icon > Journal tab:
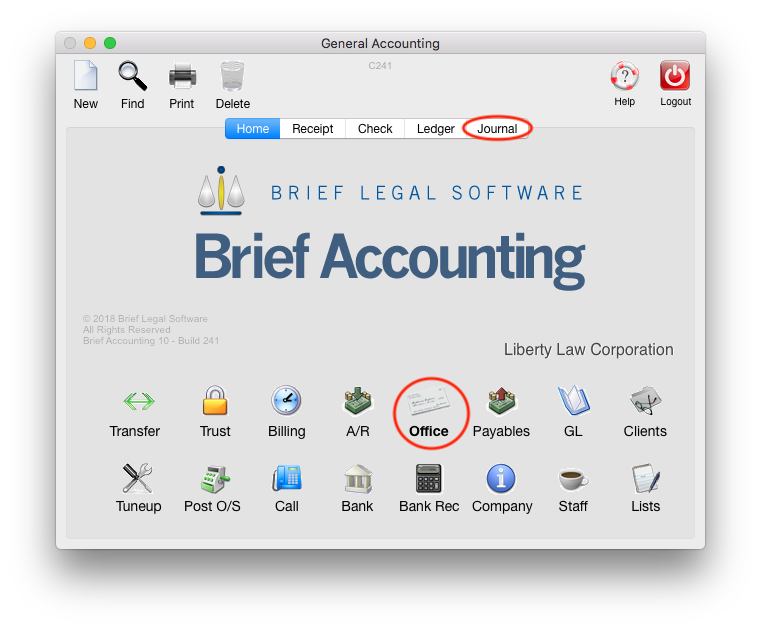
Enter the Bank Account number and click OK:
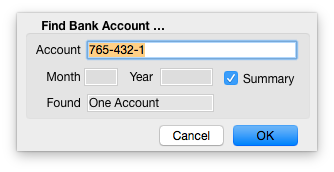
NOTE: If there is more than one General Bank Account, the specific Account number must be entered. Alternately, type "g" into the Account field and click OK. A list of all General Accounts will be displayed.
Double-click on the month listed that contains the check to be reversed.
Double-click on the check to view the check detail.
From the "Special" menu along the top menu bar of the screen, select "Reverse Transaction":

Click "Reverse":
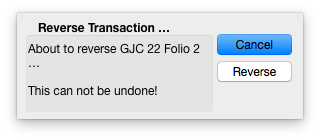
Note the Transaction Date of the reversal - this should generally be the same as the original transaction's date. Enter a reason for the reversal and click OK:

The original transaction and reversal remain in the journal:

0 Comments