In order to send a client funds as a result of an overpayment or a credit balance in Accounts Receivable, an Office Check debiting Accounts Receivable must be posted. The resulting office check will show as a negative payment (refund) in Accounts Receivable.
From the Brief Accounting Home screen, select the Post O/S Icon, then the New button:
Select "Check" and click OK:
If prompted, in the Account field, type"g" and click OK:
Enter the file number of the file being refunded:
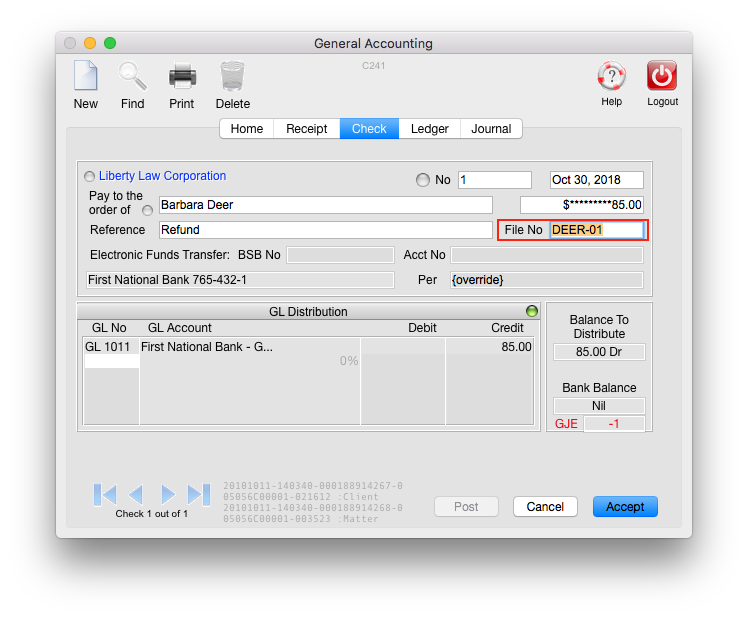
Enter GL Account 1201 (or the Accounts Receivable Control GL Account) as the Debit account on the check:

The message below will be displayed; click OK:

This will enable a drop-down menu on the side of screen.
IMPORTANT: Select "A/R" from the side menu:
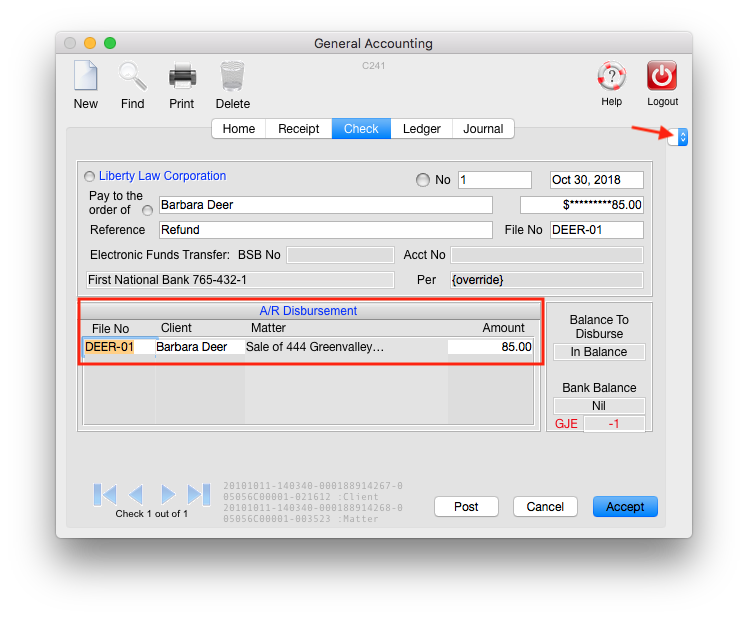
The file that is being refunded will be displayed. Click Accept to Save the check, or Post to Post the check.
Note: If the A/R side menu option is not selected, the following dialog boxwill appear:

Click Adjust to make sure the correct file number is listed for the refund check.
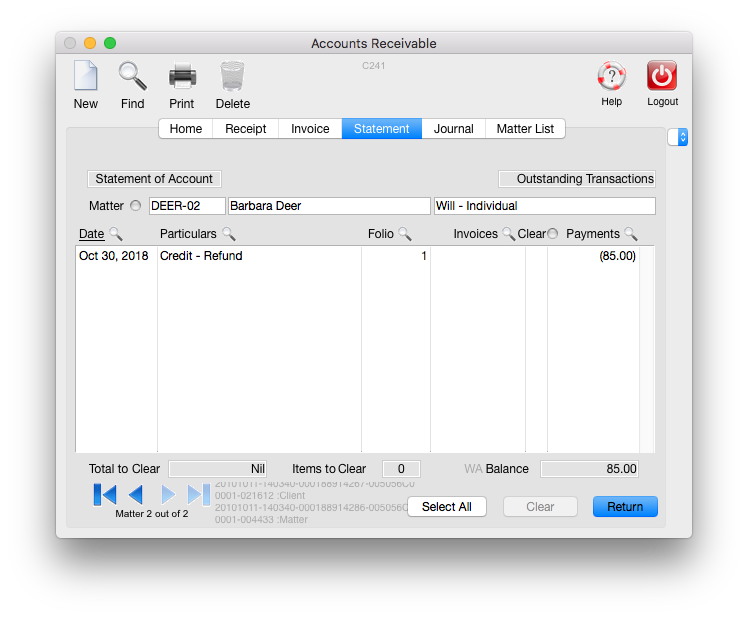
Once the check has been posted, a negative A/R payment will appear for the matter:
0 Comments